
An automated strategy does exactly what its rules say, every time, without pausing to ask whether this is a good idea. That consistency is the whole point of automation. It is also why risk management has to be built into the strategy itself rather than applied by hand afterwards. A human trader can notice something is wrong and stop. A bot keeps going until a rule tells it not to.
This guide covers the controls an automated trading system needs, in the order you should add them: per-trade limits, position sizing, account-level limits, and the operational safeguards around the system itself.
Why automated systems need different risk rules
Discretionary risk management relies on judgment in the moment. You see a news spike and stay flat. You feel the market has changed and cut size. None of that is available to an automated strategy. It only has the rules it was given and the data it receives.
That creates two failure modes a manual trader rarely meets. The first is speed: a rule that misfires can place many trades before anyone looks at the account. The second is silence: a strategy can keep trading normally while something underneath it has broken, such as a stale price feed or a broker rejecting half its orders. The controls below exist to limit how much damage either one can do.
Level 1: Limit the loss on every trade
The first control is a stop-loss on every position. Decide where the trade is wrong before you enter, and make that exit part of the rule set.
There are three common ways to place it:
- Fixed percentage. Exit if price moves 2% against the entry. Simple, but ignores how much the instrument normally moves.
- Volatility-based. Exit if price moves a multiple of the average true range (ATR) against the entry. The stop is wider in volatile markets and tighter in quiet ones, so normal noise does not trigger it.
- Structure-based. Exit if price closes below the level that defined the setup, such as the low of the breakout bar.
Pair the stop with a take-profit or a rule-based exit so the strategy also has a defined way to leave a winning trade. A trailing stop is a common choice for trend strategies: it follows price as the trade moves in your favour and locks in gains without capping them.
One caution: stops are not guaranteed fills. A market that gaps through the stop level fills at the next available price, not the one you set. Instruments that gap often, such as stocks over earnings, need wider stops or smaller size than the backtest alone would suggest.
Level 2: Size positions so one loss cannot matter
A stop-loss defines how far a trade can go against you. Position size defines what that distance costs. Together they set the loss per trade in account terms.
The standard approach is fixed fractional risk: decide what share of equity you are willing to lose on one trade, then size the position so that hitting the stop loses exactly that much. With 1% risk per trade and a stop 5% below entry, the position is 20% of equity. With a stop 2% below entry, it is 50%. The stop distance drives the size, not the other way round.
One percent per trade is a common starting point for a reason. A run of ten straight losses costs about 10% of the account, which is survivable. At 5% per trade the same run costs over 40%, and the strategy needs a 67% gain just to get back to even. Losing streaks happen to every strategy. Position sizing decides whether you are still trading when they end.
Level 3: Cap what the whole account can lose
Per-trade limits do not stop a strategy from losing steadily over many trades, or from holding several positions that all fall at once. Account-level limits do:
- Maximum exposure. The most the strategy can hold across all open positions. This matters most when a strategy trades several correlated instruments, since five crypto positions behave more like one large position than five independent ones.
- Daily loss limit. If the account loses more than a set amount in one session, the strategy stops opening new trades until the next session. This is the rule that catches a bad day before it becomes a bad week.
- Maximum drawdown. If the account falls more than a set percentage from its peak, the strategy stops entirely until you review it. The threshold should come from the backtest: if the historical maximum drawdown was 20%, a live drawdown of 30% means the strategy is no longer behaving as tested.
Prop firm traders already live with these rules, since the firm enforces them. Everyone else has to set them for themselves, and an automated system is the right place to do it, because the rule is then applied without negotiation.
Level 4: Protect against the system failing
The last layer is about the machinery, not the market. Automated strategies fail in ways a backtest never shows:
- Data problems. A stale or missing price feed can leave the strategy trading on numbers that are minutes old, or not trading when it should.
- Execution problems. The broker rejects orders, fills are partial, or an exit order fails while the entry went through, leaving an unprotected position.
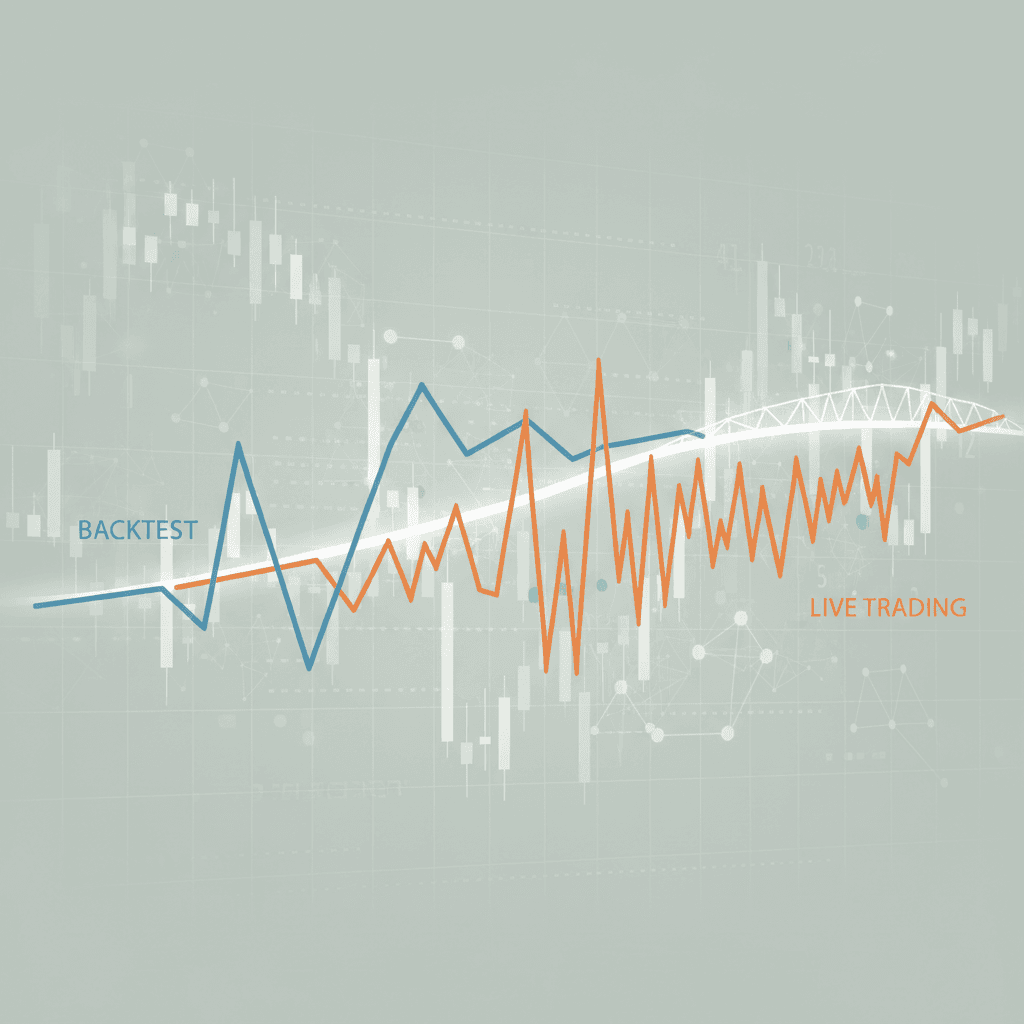
- Logic problems. The strategy behaves differently live than in the backtest, usually because of a timing difference such as acting on a bar before it closes.
The protections are simple. Paper trade the strategy before it touches capital, and compare its live trades to the backtest on the same dates. Watch the first live trades closely. Keep a kill switch you can reach quickly, and know how to flatten every position at the broker directly if the platform is unreachable. Start at a fraction of the intended size, and scale up only once the live results match the tested ones.
How Horizon fits
On Horizon the risk rules are part of the strategy description, in plain English. "Limit the risk of each trade to 1% of the portfolio, use a 3x ATR stop and a trailing stop once the trade is up 2%" becomes part of the backtest, so you see what the controls cost and what they save before deployment. The backtest reports maximum drawdown, Sharpe ratio, win rate and profit factor, which gives you the numbers to set your account-level limits from.
You can paper trade the strategy on live data, then deploy it to a connected broker such as Alpaca, Robinhood, Binance or Kraken. The same rules run in all three stages, so the risk controls you tested are the ones that execute. For the research side of this, see AI trading risk management, and for the full workflow from idea to live trading, see how to use Horizon effectively.
Frequently asked questions
Can I add risk management after the strategy is running?
You can, but you should not. Controls added later were not in the backtest, so you do not know how they change the results. Build them in from the start and test the whole system together.
Is a tighter stop always safer?
No. A stop inside the instrument's normal range gets hit by noise, so the strategy takes many small losses on trades that would have worked. Set the stop where the trade idea is wrong, then size the position to fit.
What is the single most important control?
Position sizing. Every other control limits one bad outcome. Sizing decides whether any single outcome can take you out of the game.
Does automation make trading less risky?
It makes the risk consistent and measurable. It does not reduce it on its own. A strategy with no stop and full-size positions is just as dangerous automated as it is by hand, and faster.
Build the controls into the strategy
Describe the entry, the exit, the stop and the size in one place, backtest them together and deploy the same rules you tested. Horizon does this from a plain-English description, with no code.
Share this post: